dewyser.net

solutions, scripting and more

Allow Carbon Black to run in background — 25th Apr 2025

Allow Carbon Black to run in background

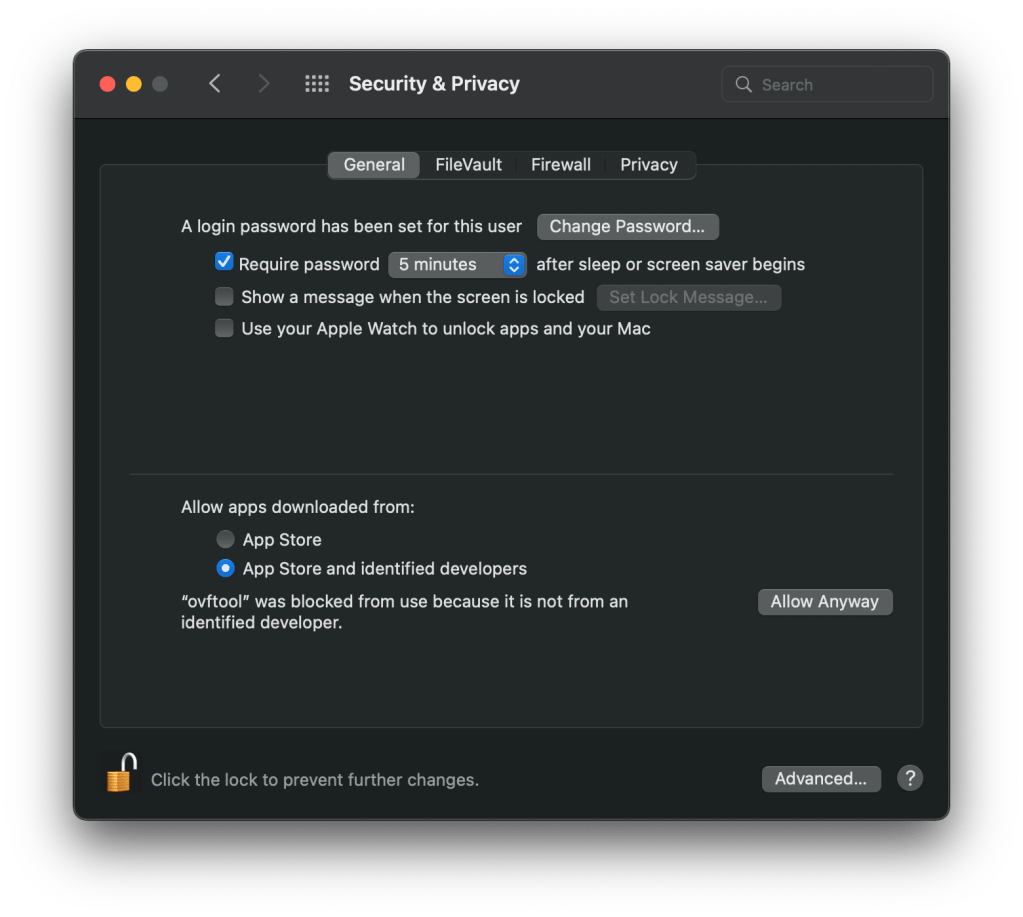
With the profile earlier in the series, a admin user would be able to disable Carbon Black from running in the background and so, stop it from running all together.

So, let us add two extra options to the profile by adding a version.

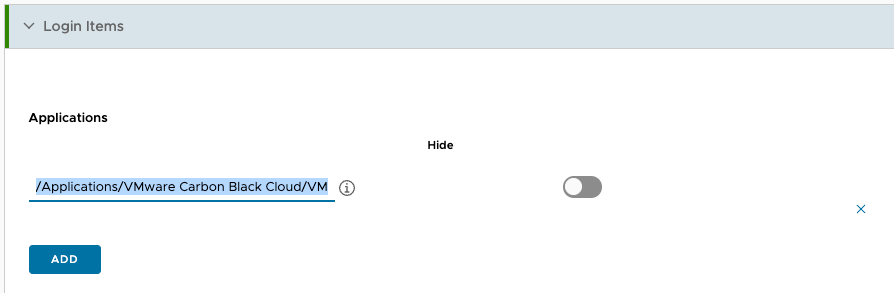
Open the profile and look for “Login Items”. Here you want to add Carbon Black to the applications section.

ex.: /Applications/VMware Carbon Black Cloud/VMware CBCloud.app

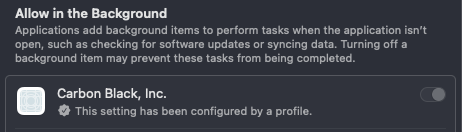
The second part is under the “Login and Background Items” section. Allow Carbon Black to run in the background based on the Team Identifier.

ex.: 7AGZNQ2S2T

For me, this resulted in an error and it seems to be a bug in the interface.

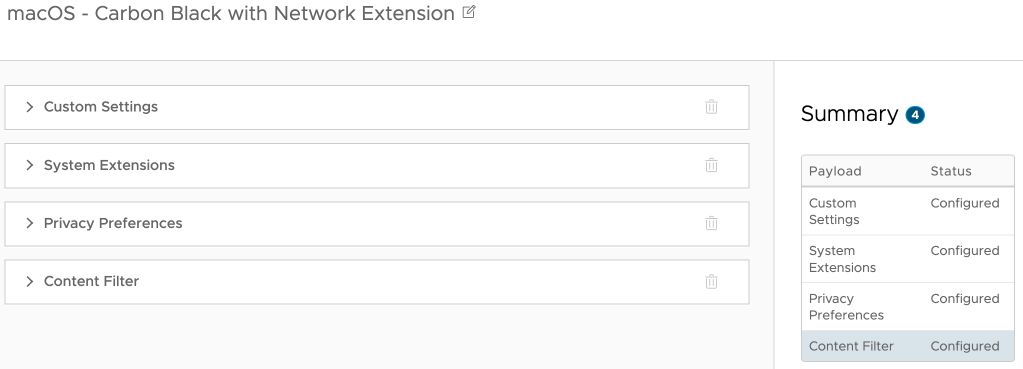
Go to the “System Extensions” section and remove the parts that are not in use. Heads up, they will get added again on saving the profile.

That’s it. Save and assign and you are good to go. Hope this helps!

Enable Carbon Black content filter on macOS — 26th Oct 2024

Enable Carbon Black content filter on macOS

I recently came across a Workspace ONE UEM profile for Carbon Black that only had the system extension enabled. True, the first parts are maybe better documented, but to get the content filter working you also need to enable that, so in total you need 4 payloads:

So, I made a copy of the profile and added the content filter part. Below the screenshot you’ll find the different parts to copy paste into the profile:

Filter type: Plug-in
Filter Name: VMware Carbon Black Cloud Network Extension Filter
Identifier: com.vmware.carbonblack.cloud.se-agent
Filter WebKit Traffic: Enabled
Filter Socket Traffic: Enabled
Socket Filter Bundle ID: com.vmware.carbonblack.cloud.se-agent.extension
Socket Requirement: identifier "com.vmware.carbonblack.cloud.se-agent.extension" and anchor apple generic and certificate 1[field.1.2.840.113635.100.6.2.6] /* exists */ and certificate leaf[field.1.2.840.113635.100.6.1.13] /* exists */ and certificate leaf[subject.OU] = "7AGZNQ2S2T"
Filter Network Packets: Enabled
Packet Bundle ID: com.vmware.carbonblack.cloud.se-agent.extension
Packet Requirement: identifier "com.vmware.carbonblack.cloud.se-agent.extension" and anchor apple generic and certificate 1[field.1.2.840.113635.100.6.2.6] /* exists */ and certificate leaf[field.1.2.840.113635.100.6.1.13] /* exists */ and certificate leaf[subject.OU] = "7AGZNQ2S2T"

You can validate the profile in macOS settings under Network > VPN & Filters > Filters & Proxies. There you should see the Carbon Black Content Filter as Enabled.

Certificates (in the home lab) made easy – the root CA — 24th Aug 2023

Certificates (in the home lab) made easy – the root CA

I recently decided to rewrite this article from scratch. I made a blogpost about how easy it is to do this with pfSense before but I only touched setting up the root-ca part. In theory this is enough, certainly for a home lab. However it brings some complexity if you start with intermediate and issuing certificate authorities and if you need to export/import the complete chain. This series will cover all that.

So in this blog post we will set up the root certificate authority, easy-peasy.

In the pfSense administration console head to System > Certificate Manager and under CAs click “+ Add”.

Select the appropriate key type and algorithm, fill in the values and hit Save.

Basically this is it. We now have a working certificate authority. Trusting this certificate authority on your device would make your device trust all the certificates that will be issued by it (if the certificates follow the security standards).

We can export the certificate using the icon marked with the red circle. Now we can import the certificate in Windows in the “Trusted Root Certificate Authorities” folder or on macOS in the “System Keychain” and selecting “Always Trust”.

Allowing VMware ovftool in macOS — 10th Jun 2022

Allowing VMware ovftool in macOS

When trying to install VMware vCenter using a macOS device you get the above error. You could go to “Security & Privacy”and allow this for every single file or you could just disable the security feature during the installation.

Before mounting the ISO open a terminal window and navigate to the folder where you downloaded the iso. Use the following commands to first disable the security feature and then remove the quarantine attribute from the ISO.

sudo spctl --master-disable
sudo xattr -r -d com.apple.quarantine ./VMware-VCSA-all-7.0.3-18700403.iso

Now mount the ISO and start the installer.

When you’re finished don’t forget to enable the security again.

sudo spctl --master-enable
Edit local host file — 12th Nov 2021

Edit local host file

Before DNS is setup you can either work with IP addresses or edit your local host file. Open a terminal and type sudo nano /etc/hosts. Enter your password and start editing.

Add the corresponding information, IP address and hostname. Then press Ctrl+X to save your changes.

From now on you can use the hostname to connect to it.